Coop Tour
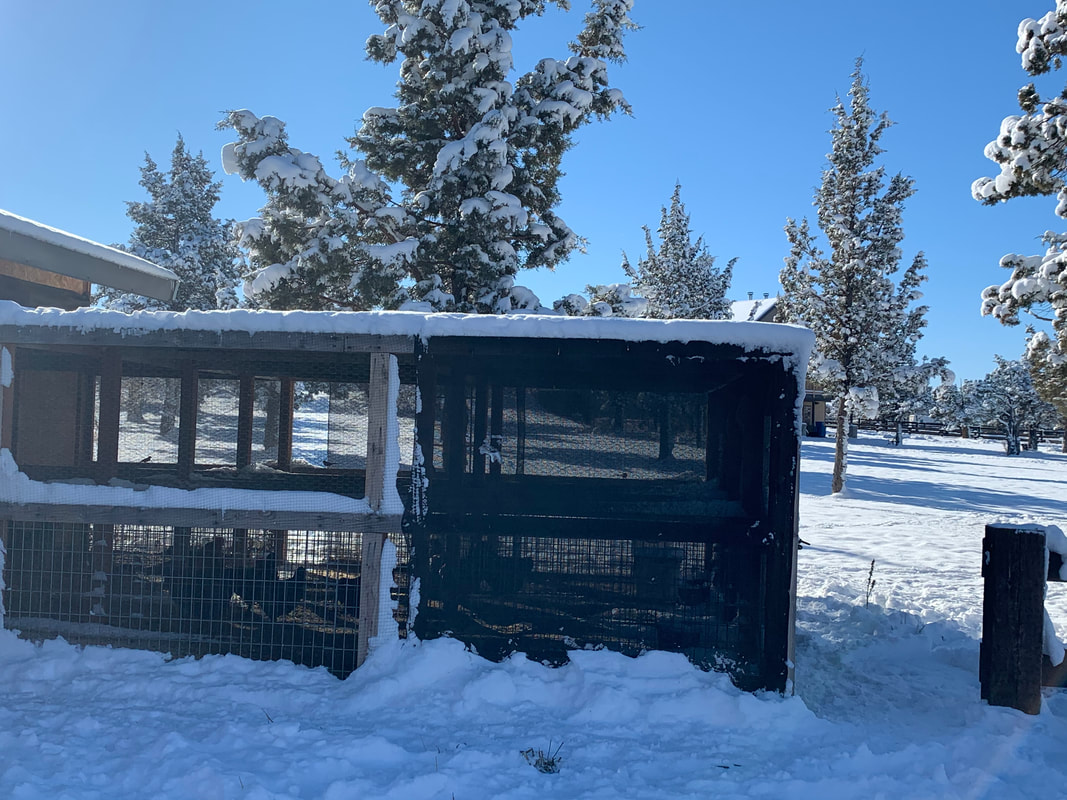
Outside the Coop

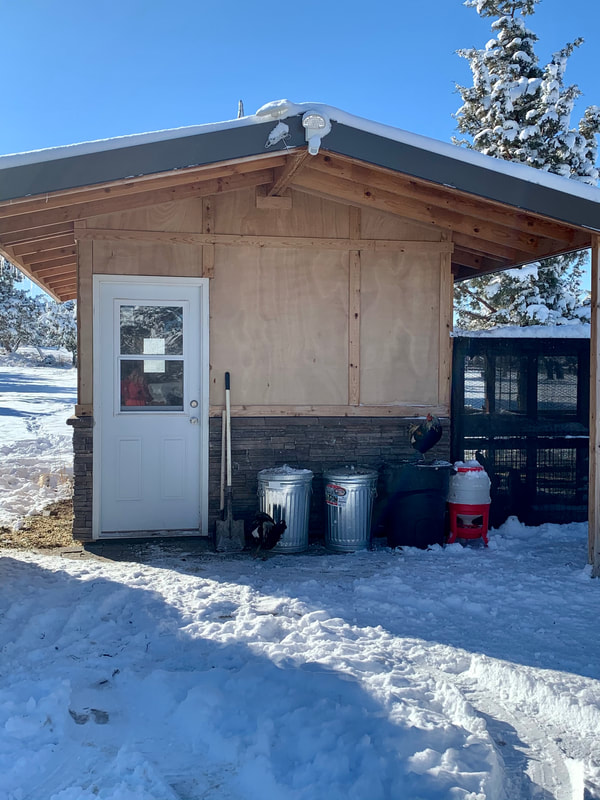
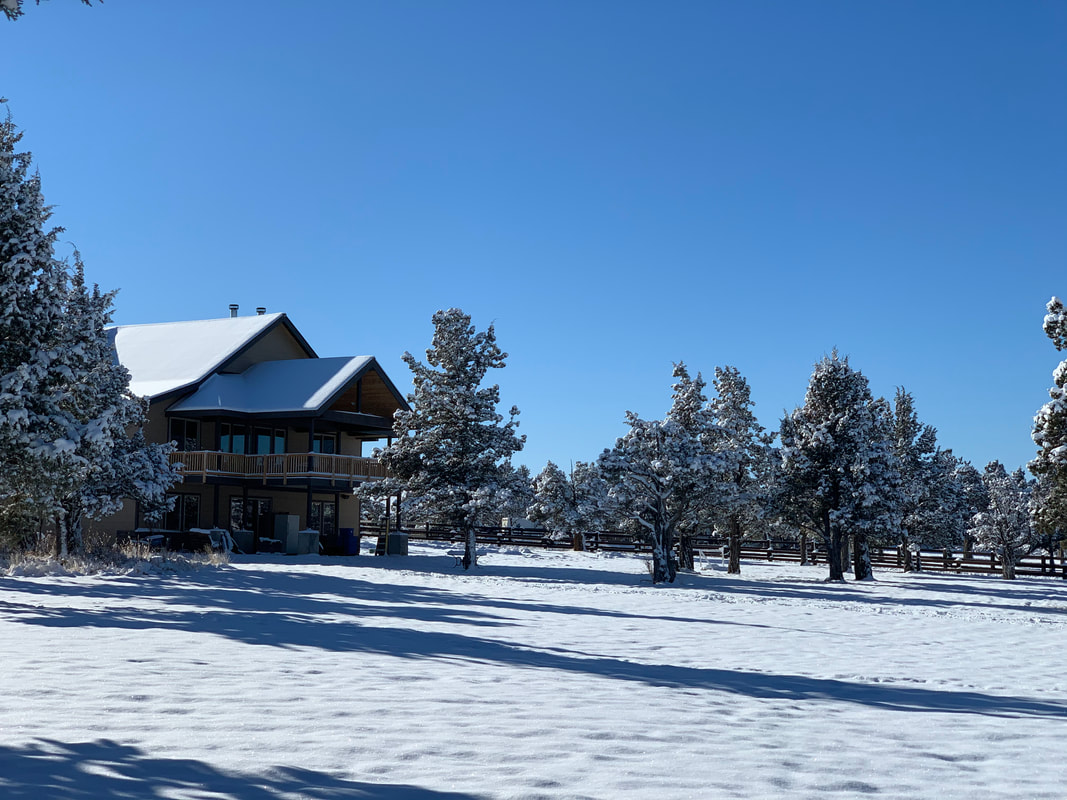
Our barn yard behind the coop & our home.
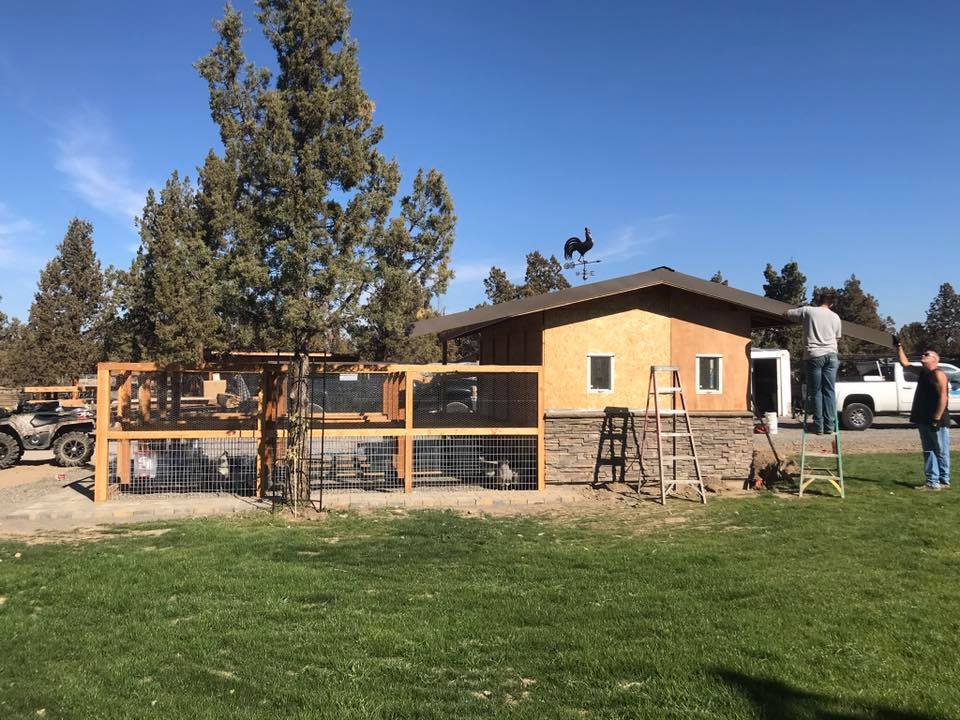
Construction of Coop & Runs
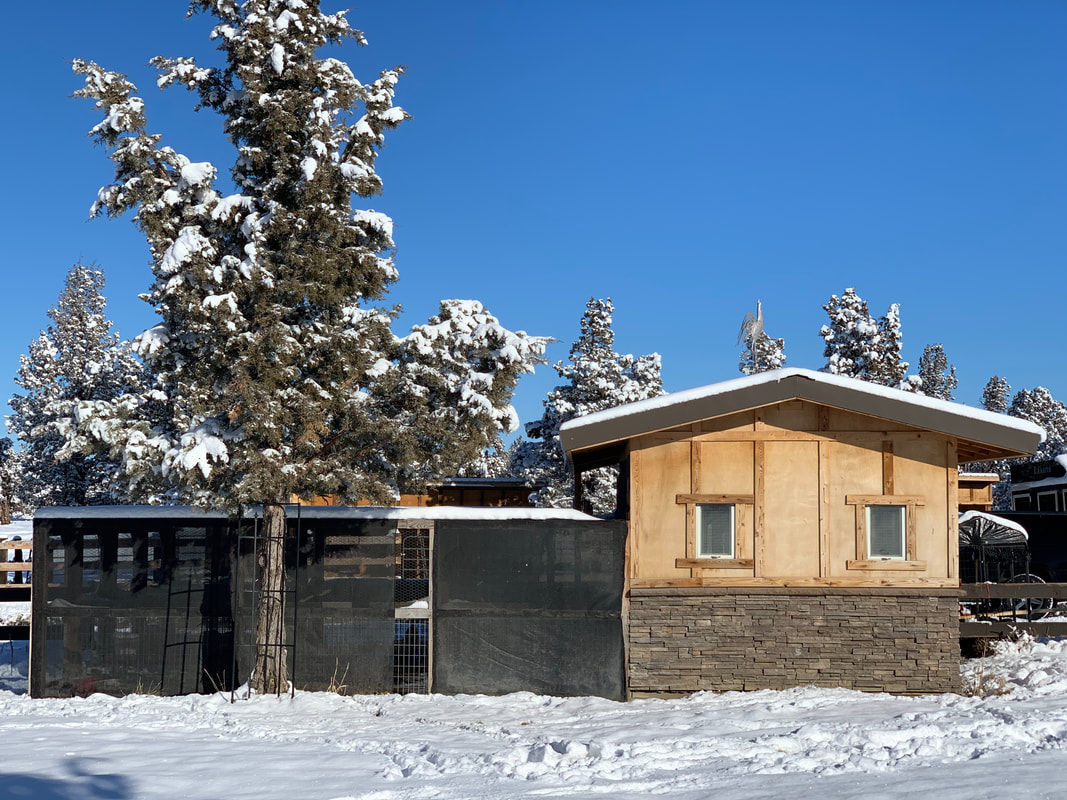
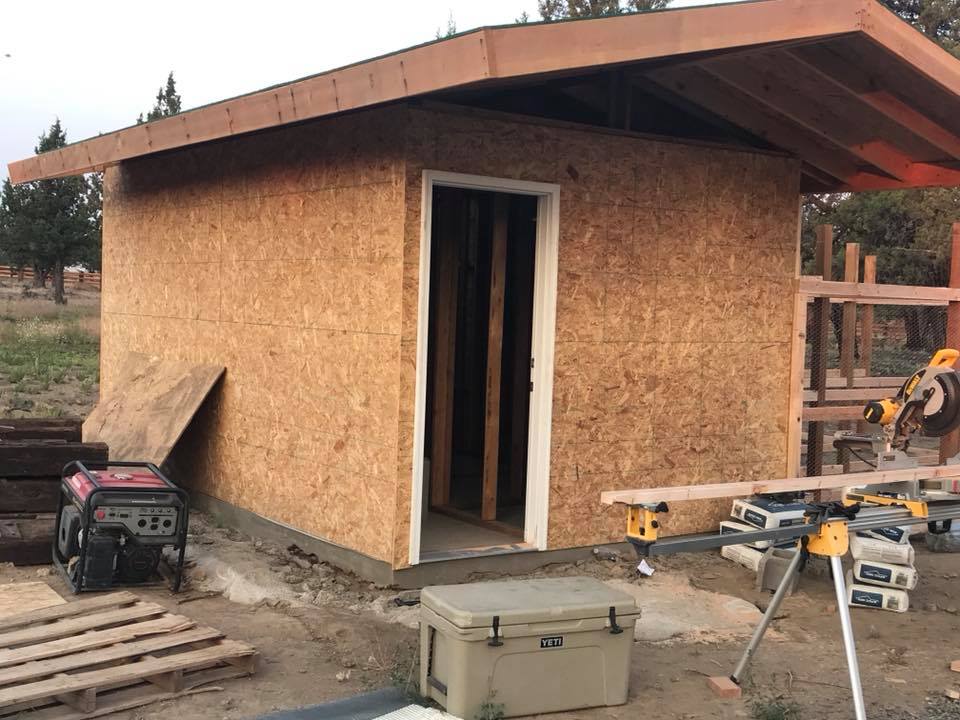
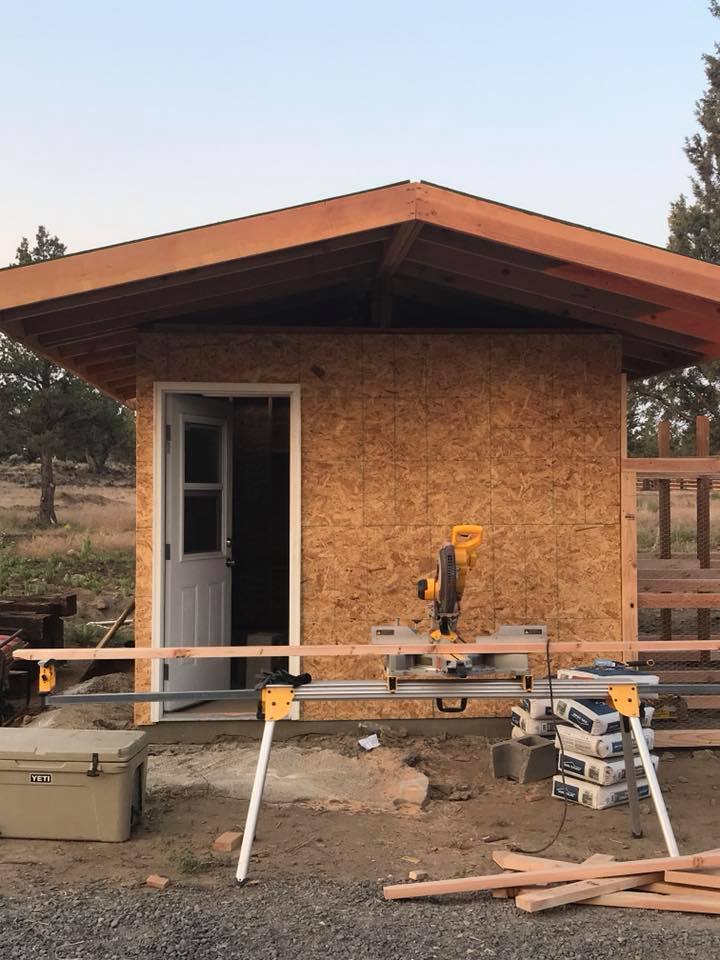
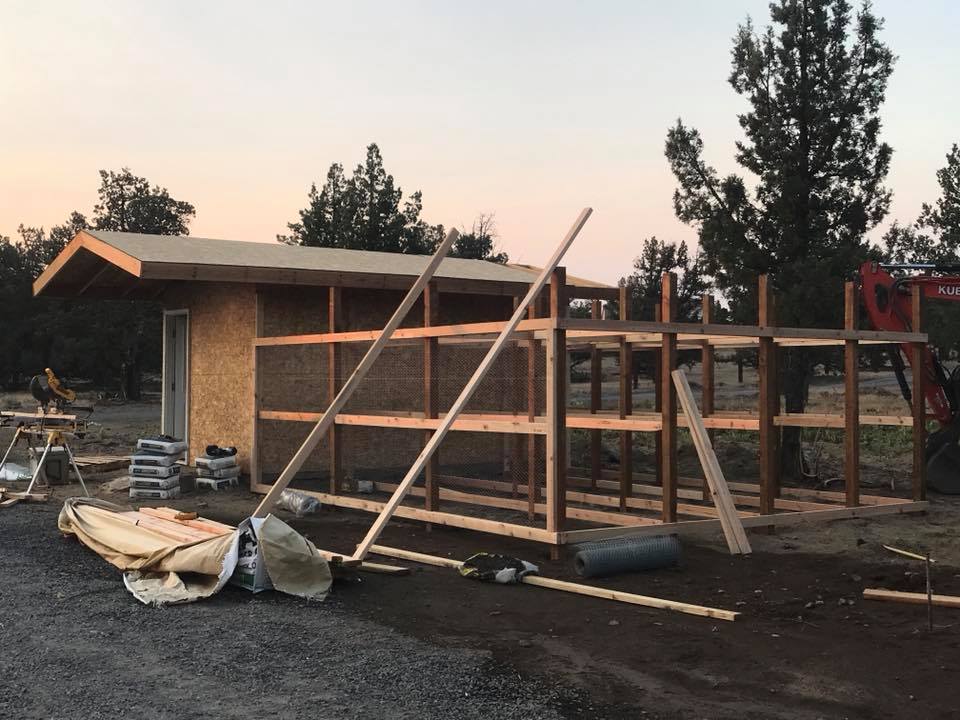
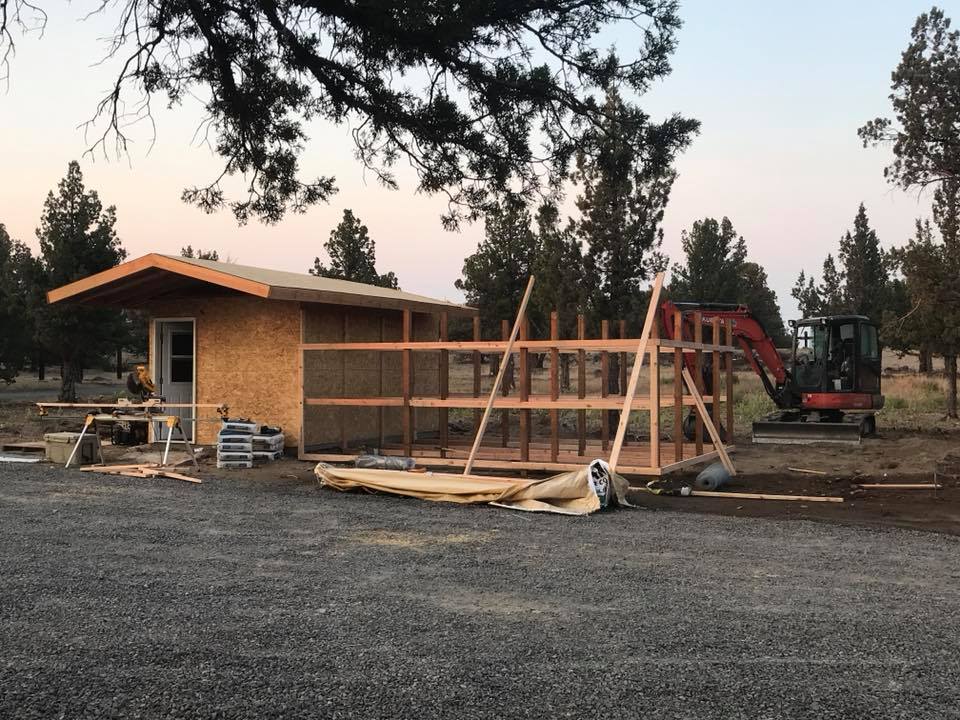
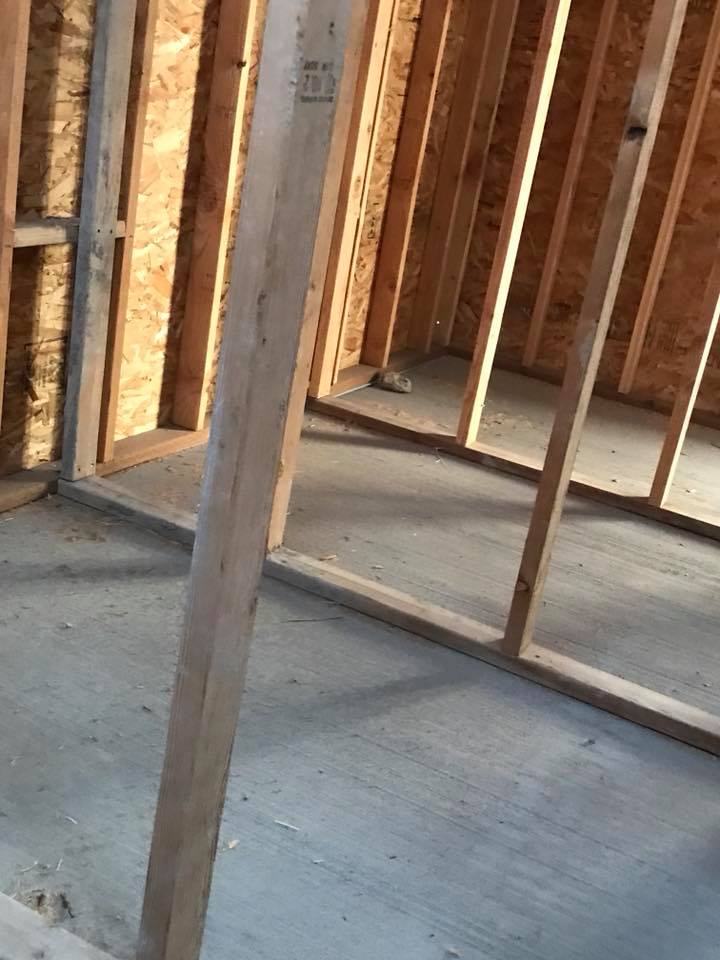
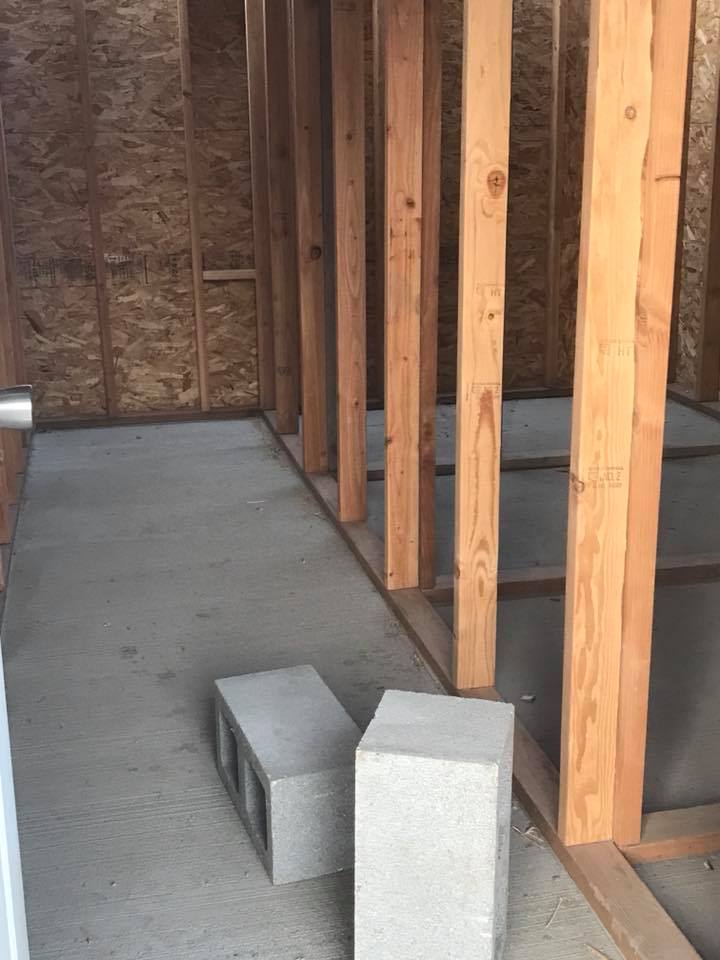
We laid out where we wanted the building to be located. Then we framed out the slab and had it poured. Started the framing of the building. It took us about a month to finish as we are weekend Warriors so we didn't have last of time during the week and had other projects going on the weekends too. we wired the coop so when we were ready to pull power down to the horse corals and the coop we were ready. The runs went up really fast with in a couple days, and another day to build the doors. The building its self is 16' long, 10' wide 10' tall.
Construction of Coop Phase 2
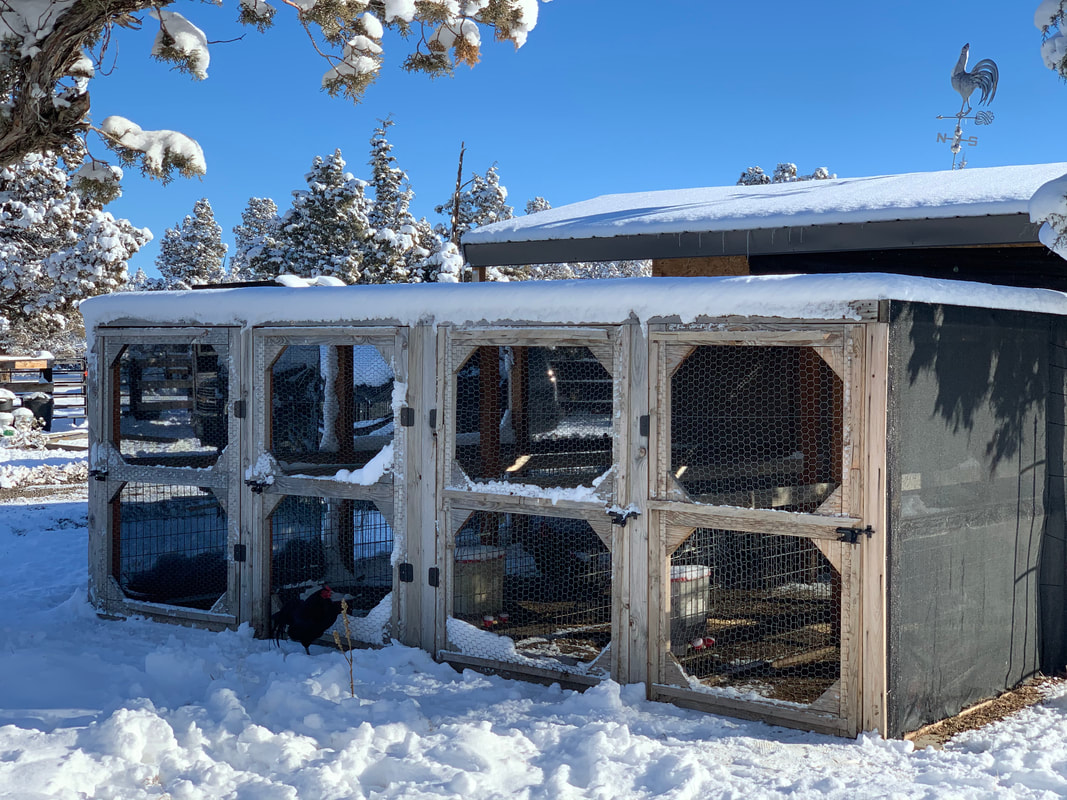
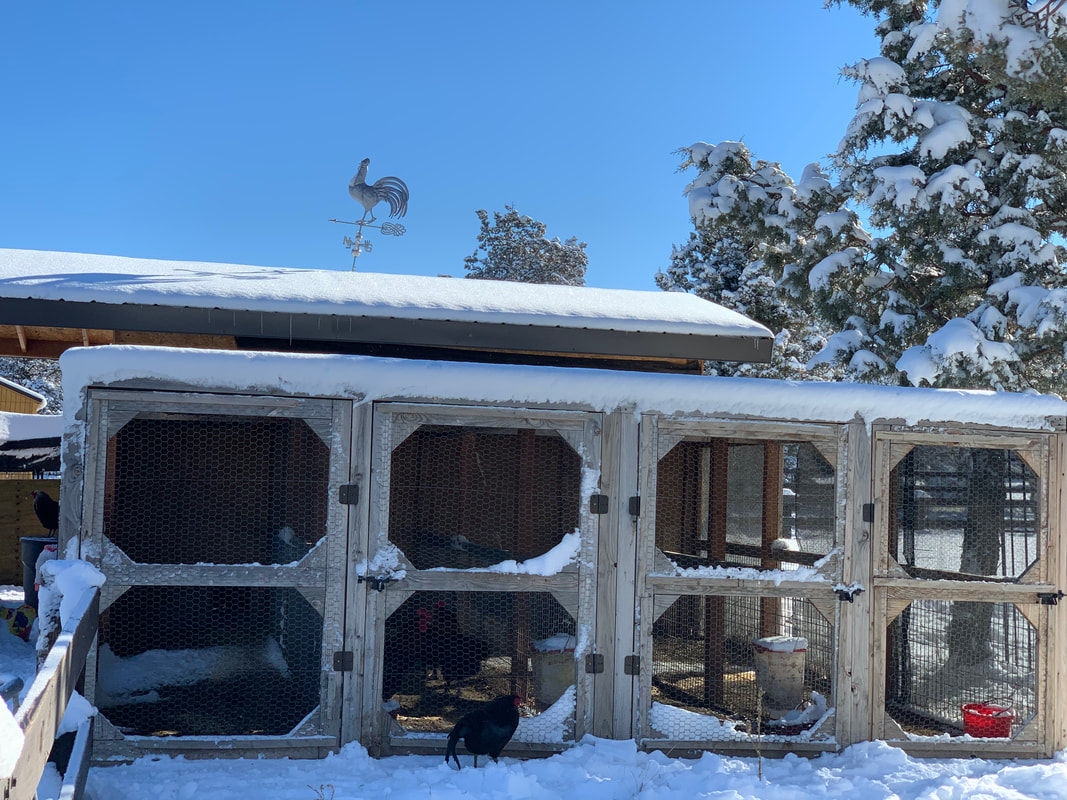
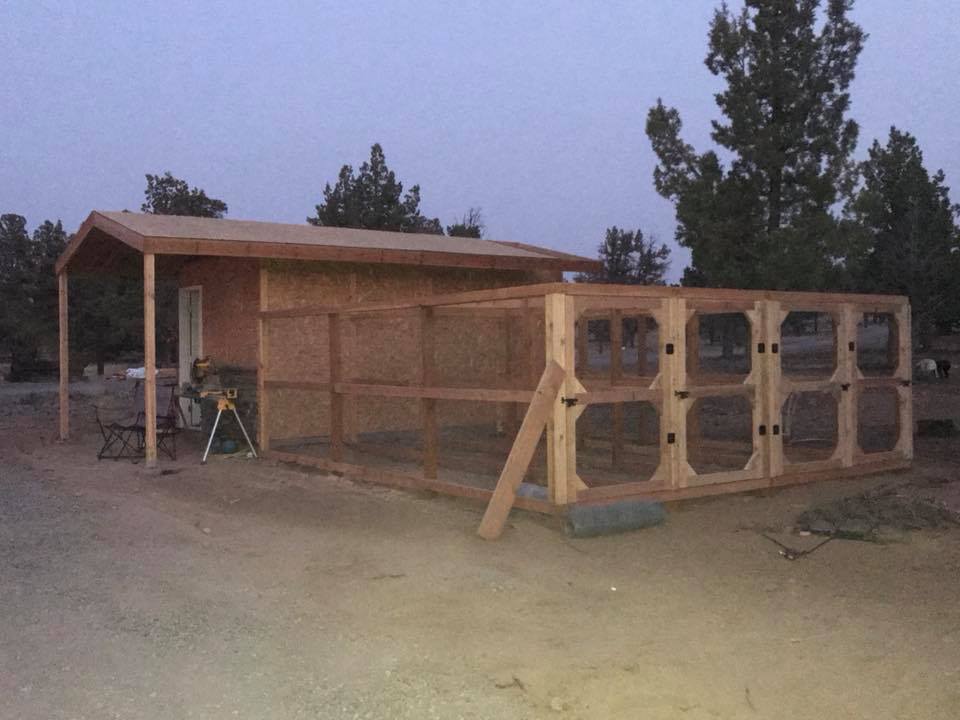
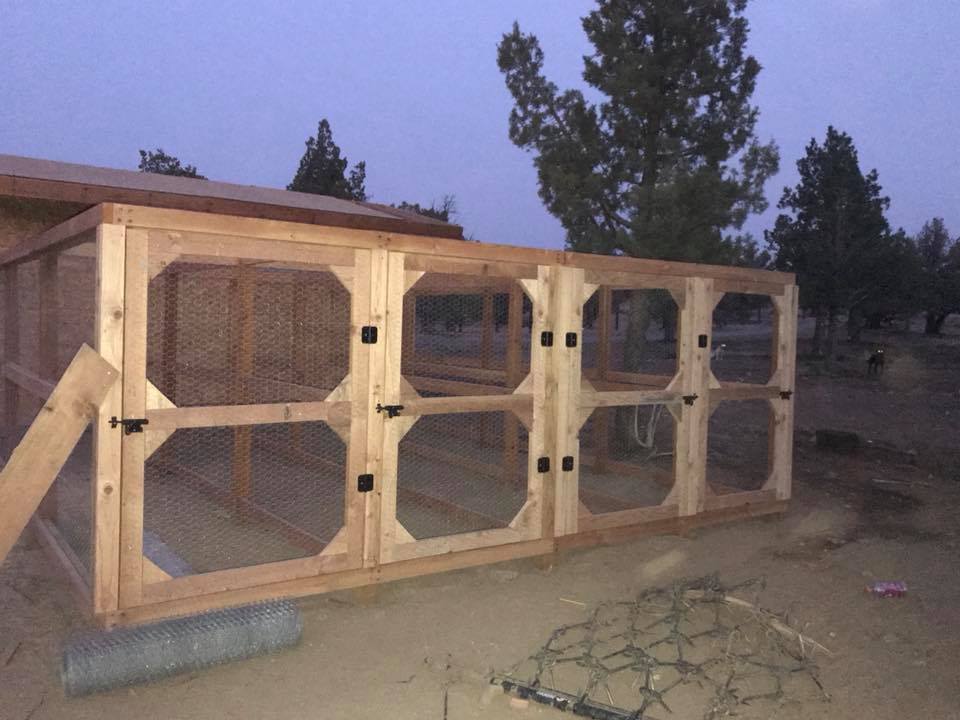
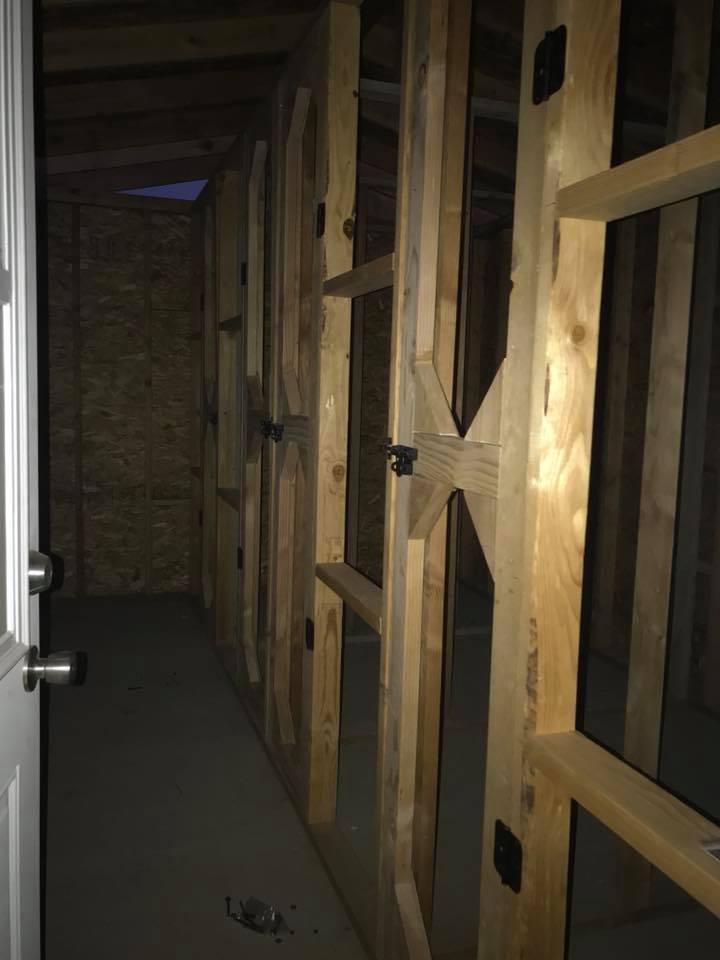
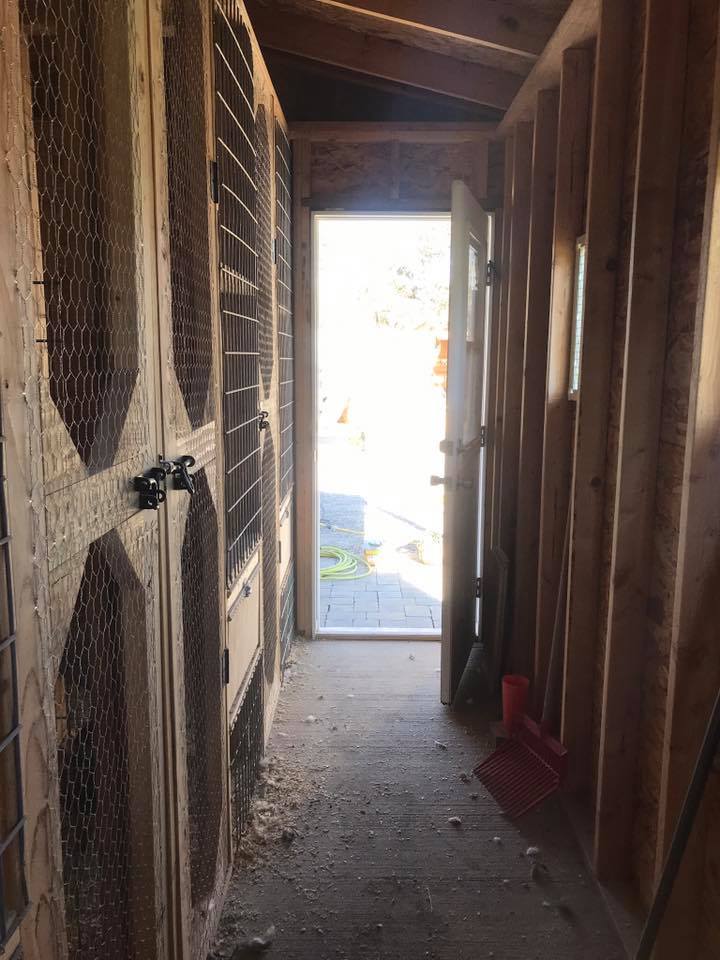
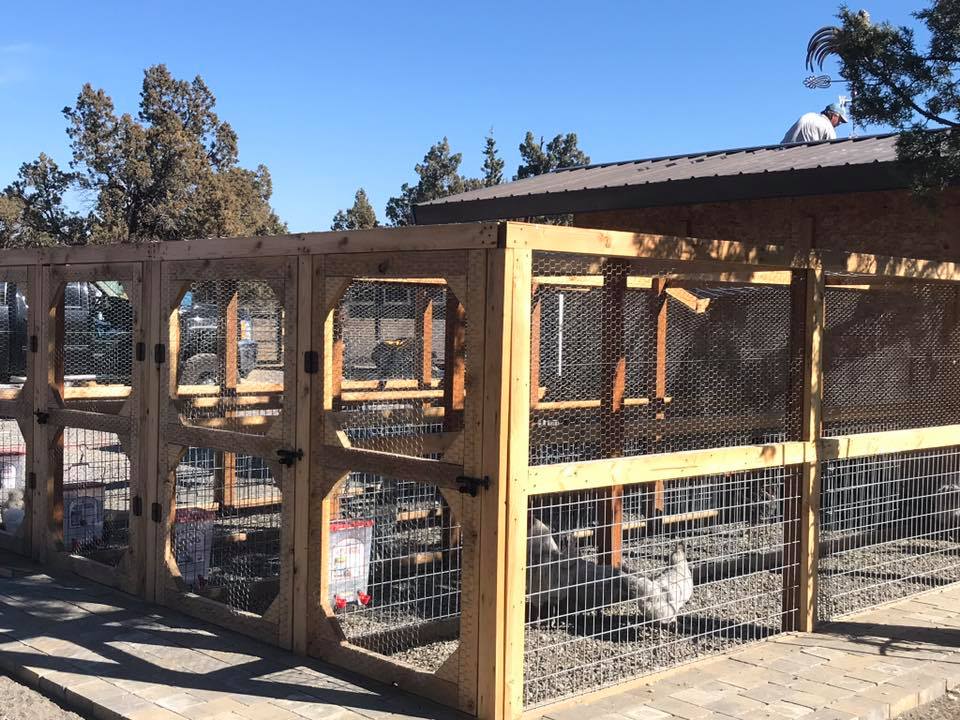
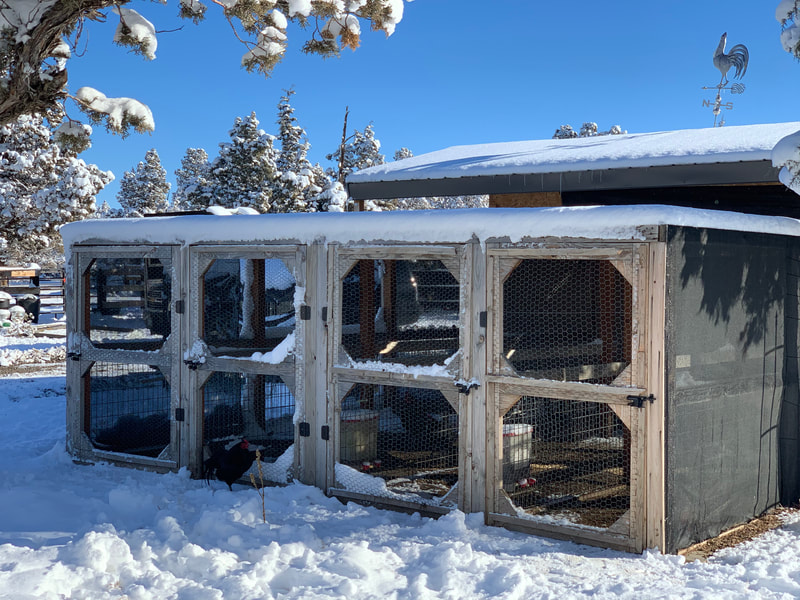
In this phase of building the coop we have started the inside pens. We also built the doors for the inside runs and placed the wire on the pens & doors. On the outside the runs are finished, & doors are in place. We used heavy duty galvanized wire on the bottom to keep predators out and used 1" chicken wire on the upper half of the runs.
Construction Phase 3
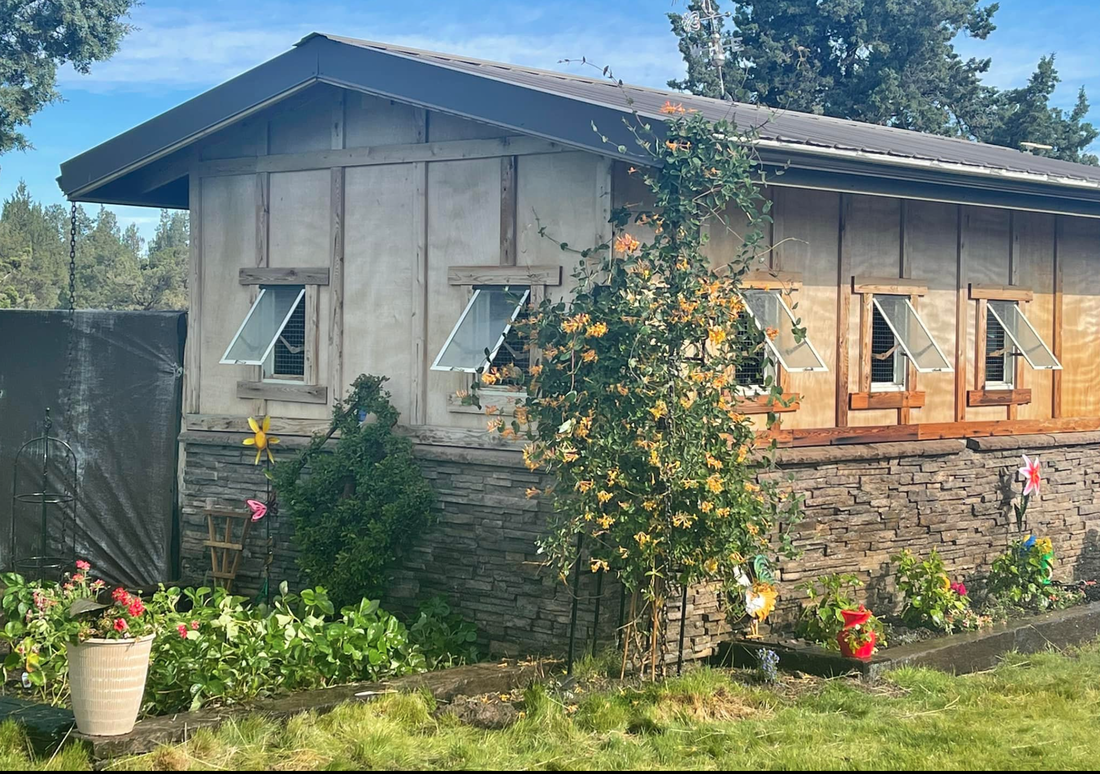
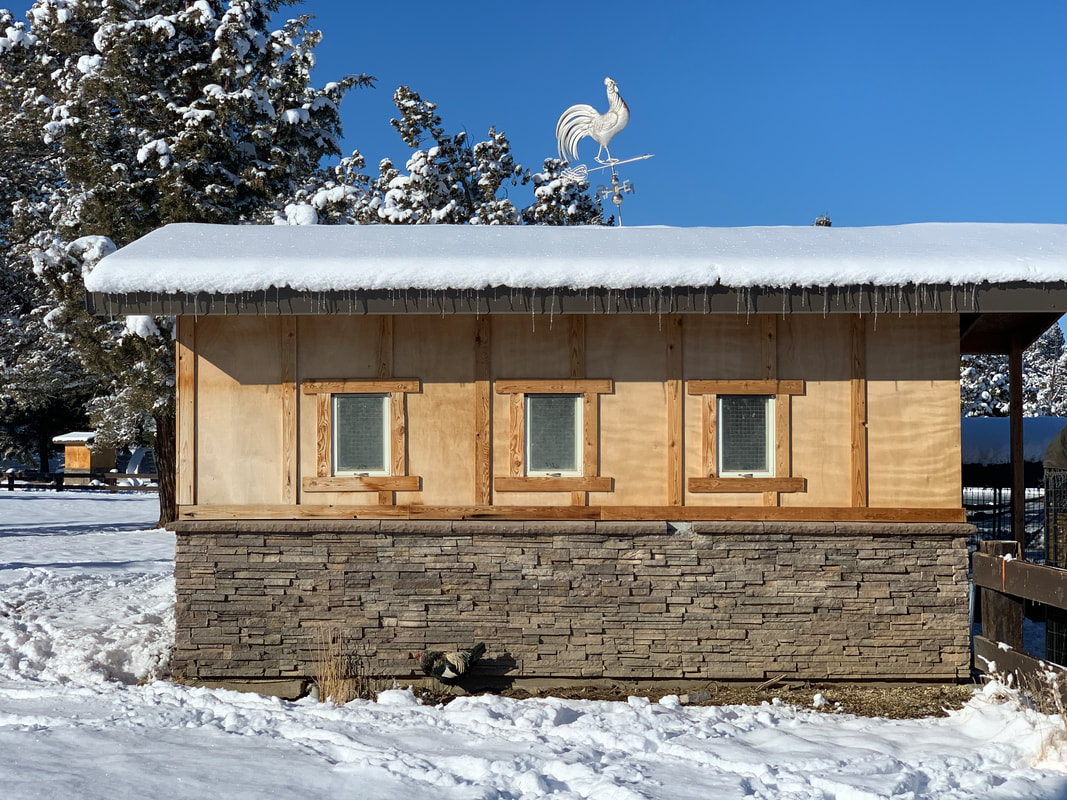
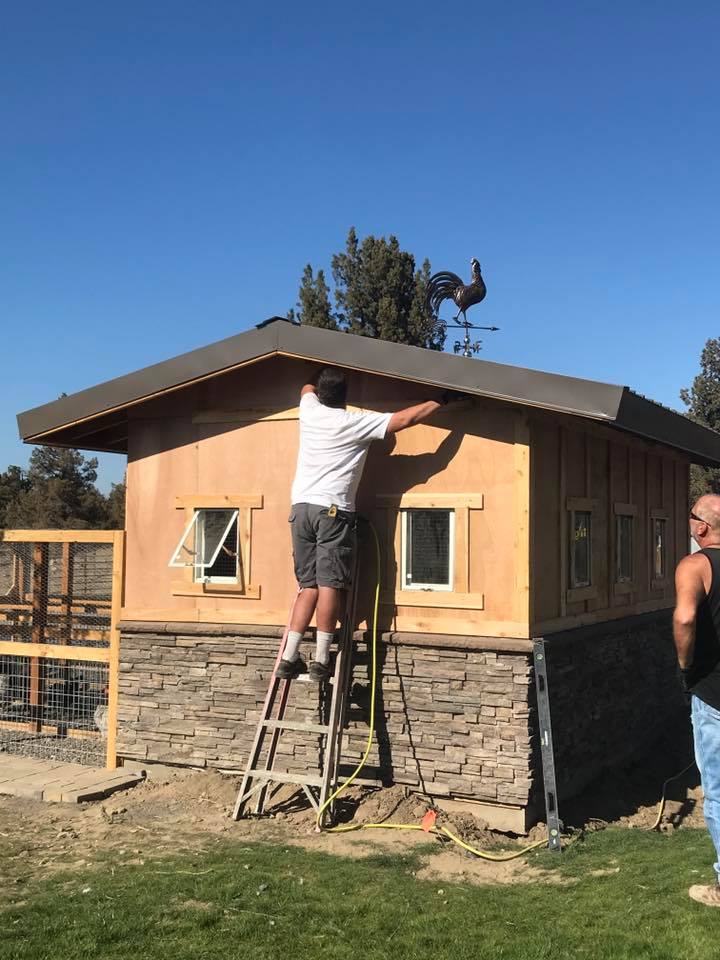
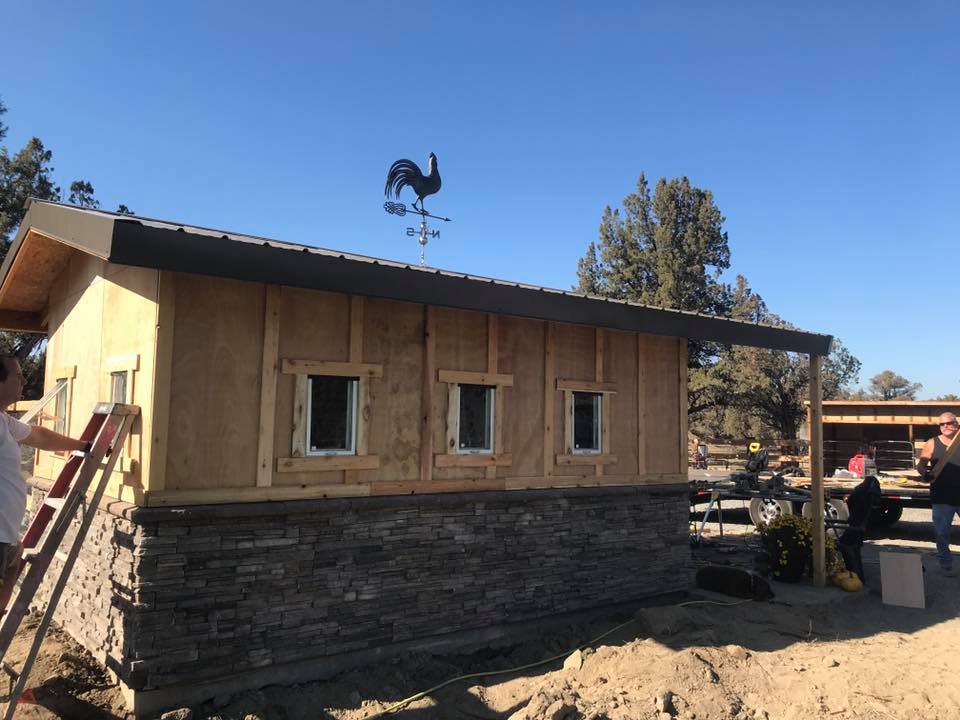
Stone work & Windows
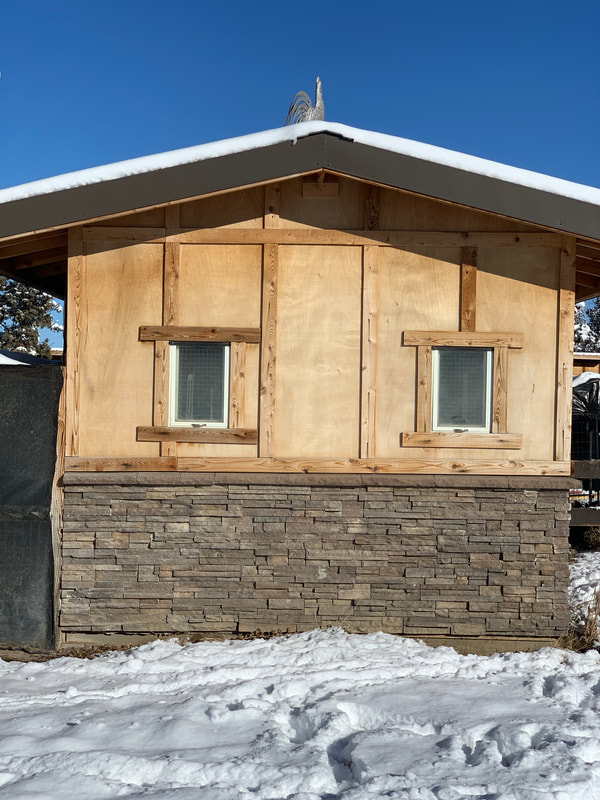
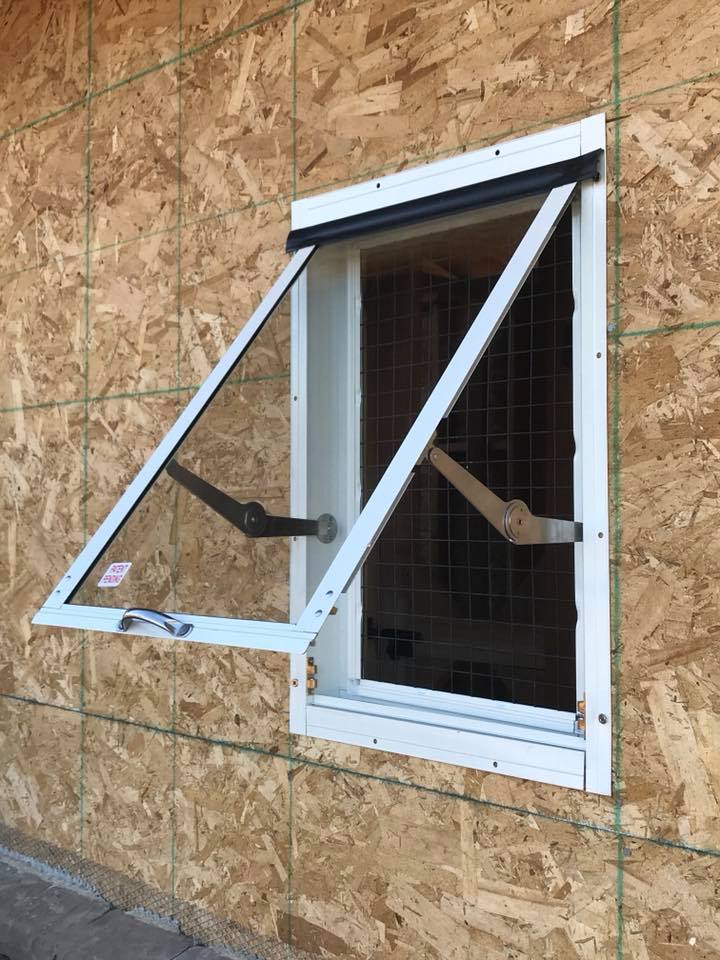
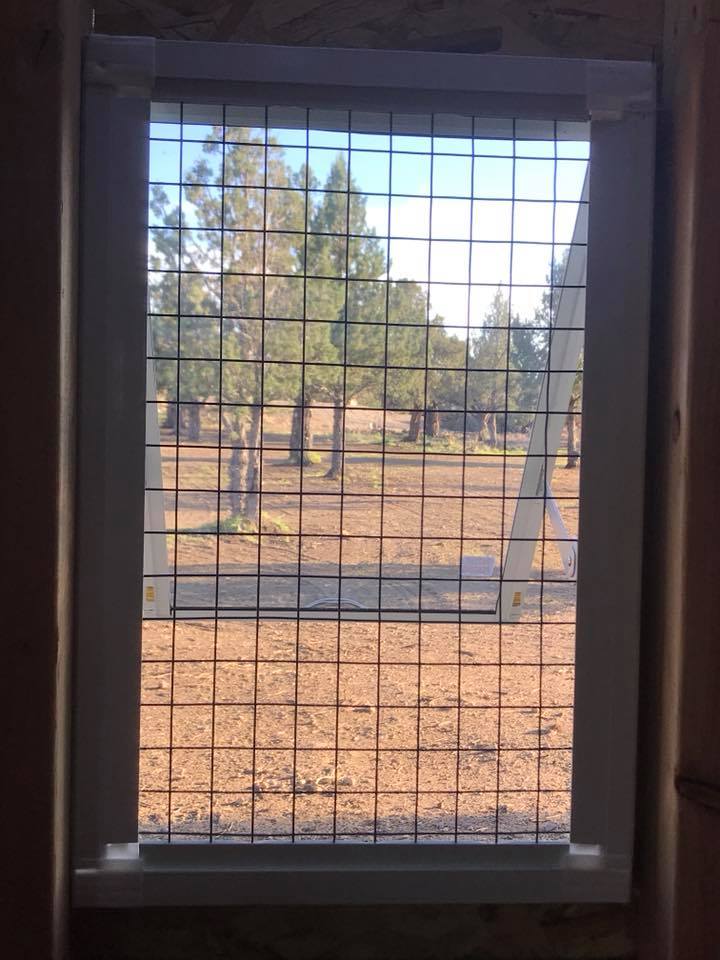
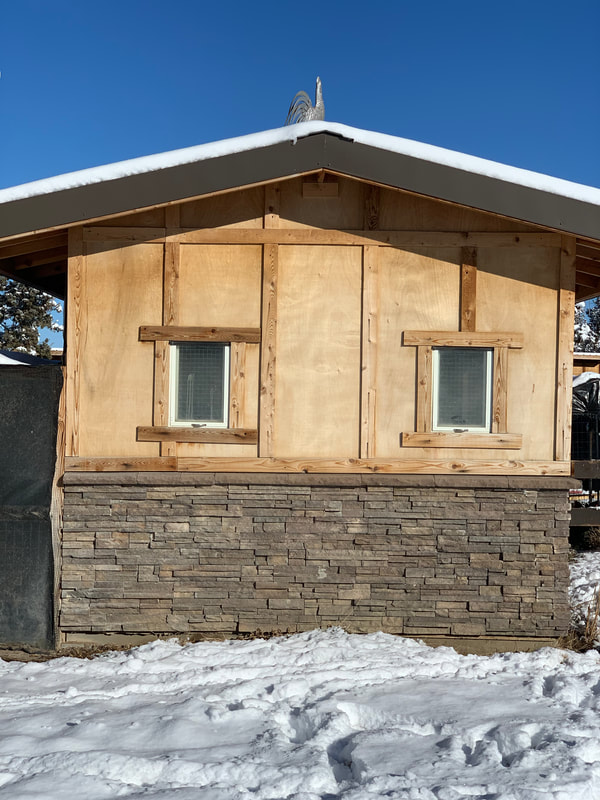
It wasn't an easy task to find coop windows that pop open rather than slide up and down. We also discovered these windows on EBAY. The windows come in a few colors, we chose the white as they pop against the natural wood tones. The windows are so easy to open and clean. The handle on the outside makes it easy for open and closing. Wire is mounted inside the windows preventing escape of chickens and keeping wild birds out!
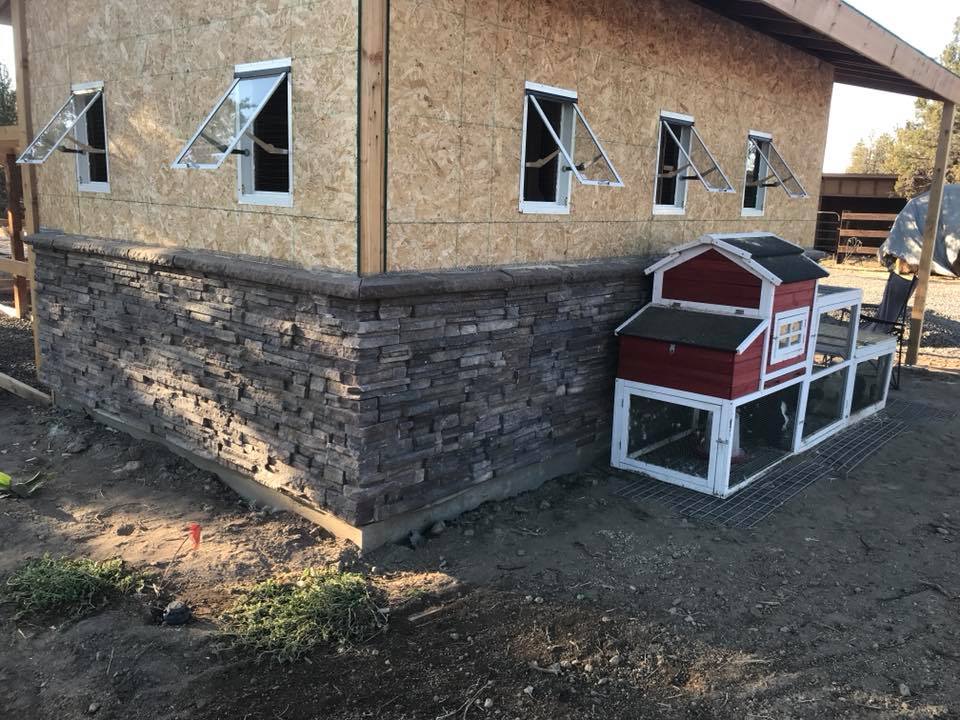
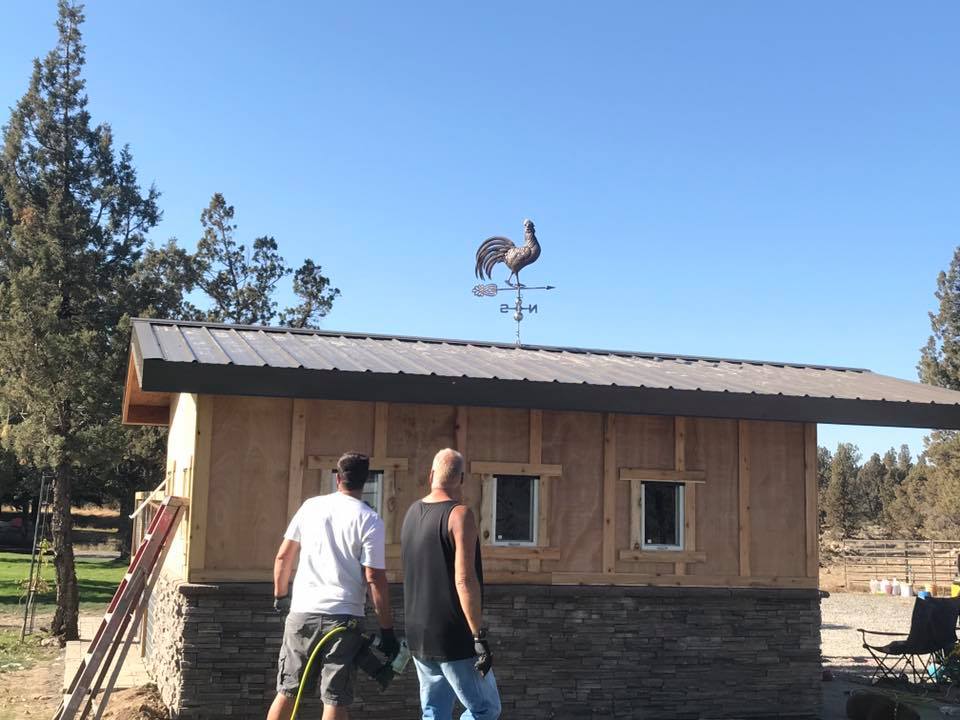
The stone work, probably one of our favorite features about the coop. We fell in love with this stone when we used it on the side of our pump house, then we decided to use it on a few others places on the property and we had to tie the chicken coop in with the other out buildings of course lol! We placed the stone up about 1/2 way around the front, side and back.
The stone work, probably one of our favorite features about the coop. We fell in love with this stone when we used it on the side of our pump house, then we decided to use it on a few others places on the property and we had to tie the chicken coop in with the other out buildings of course lol! We placed the stone up about 1/2 way around the front, side and back.
Construction Phase 4
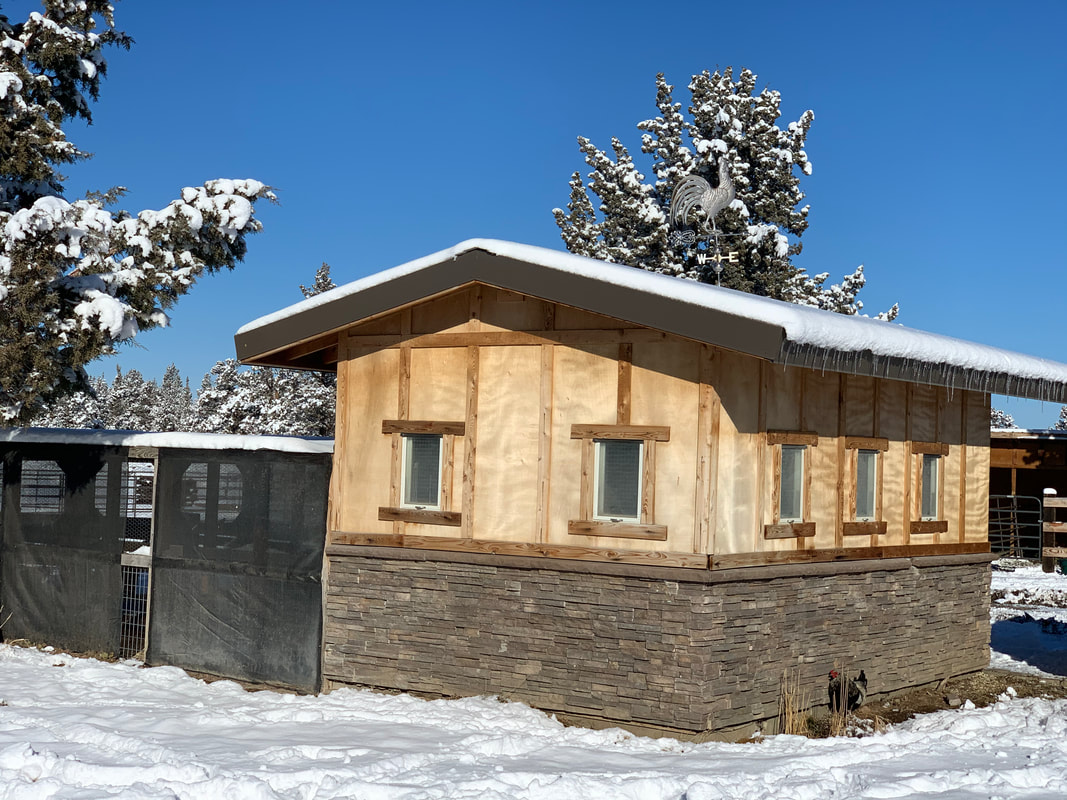
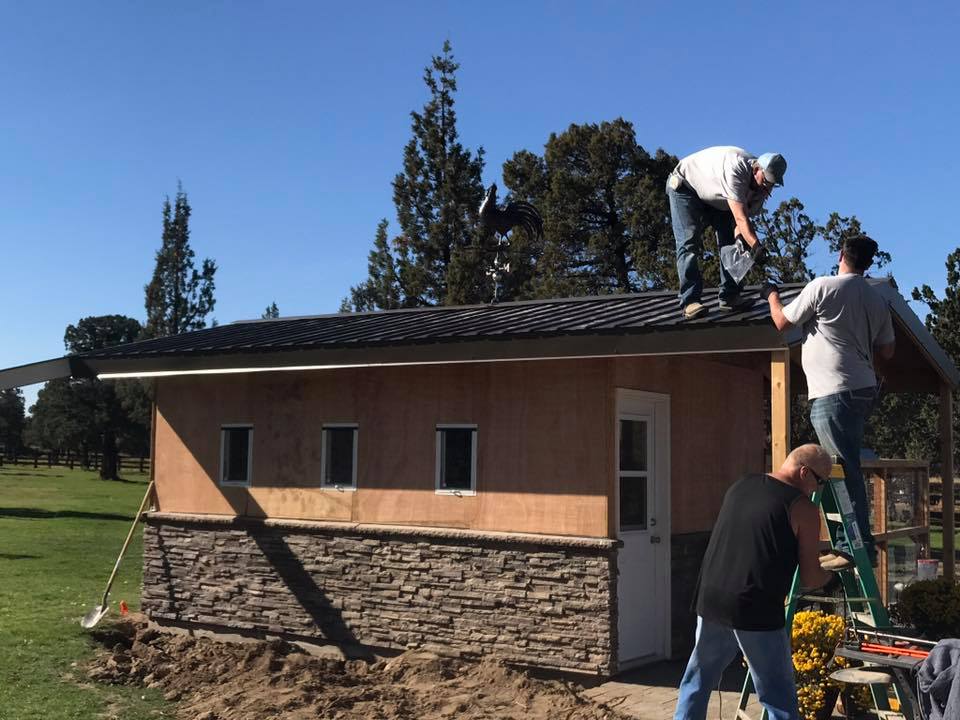
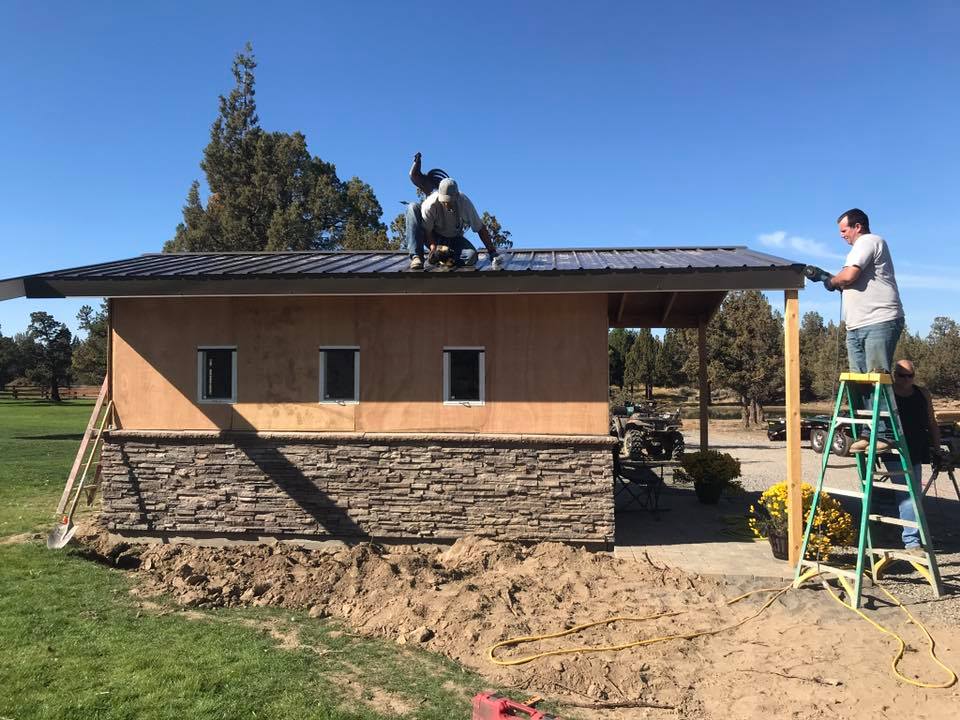
Roof, siding, Trim
Pictured here you'll see the final stages of the coop. We left the Breckenridge all natural to match the rest of the buildings on the property and then we placed the batten board around the windows and the seams of the Breckenridge. The roof is metal tin. The color is dark brown which matches the other buildings on the property as well.
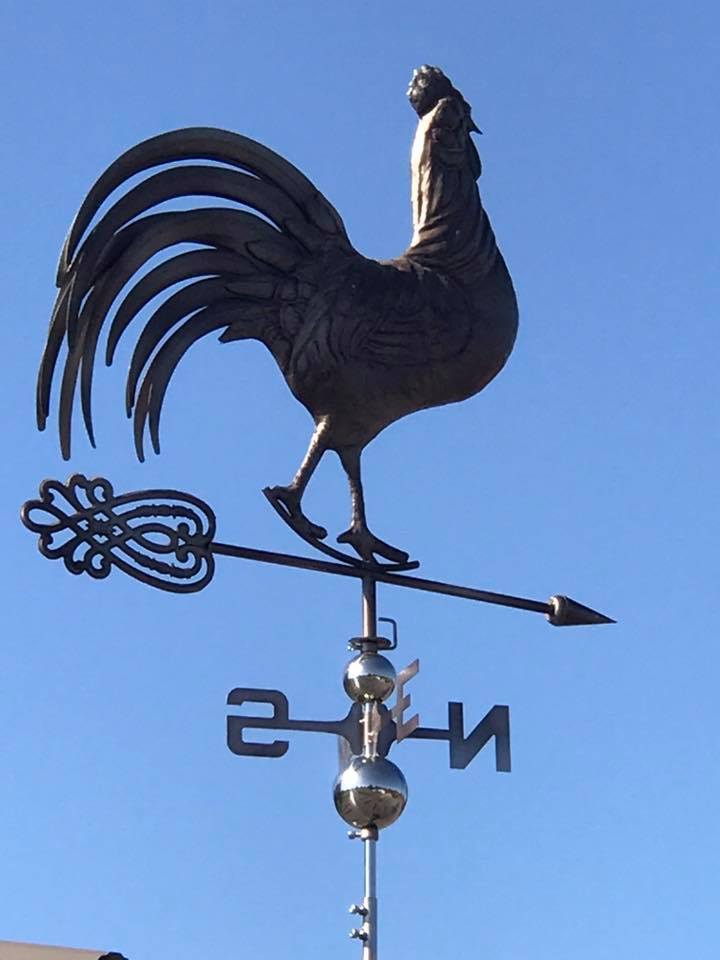
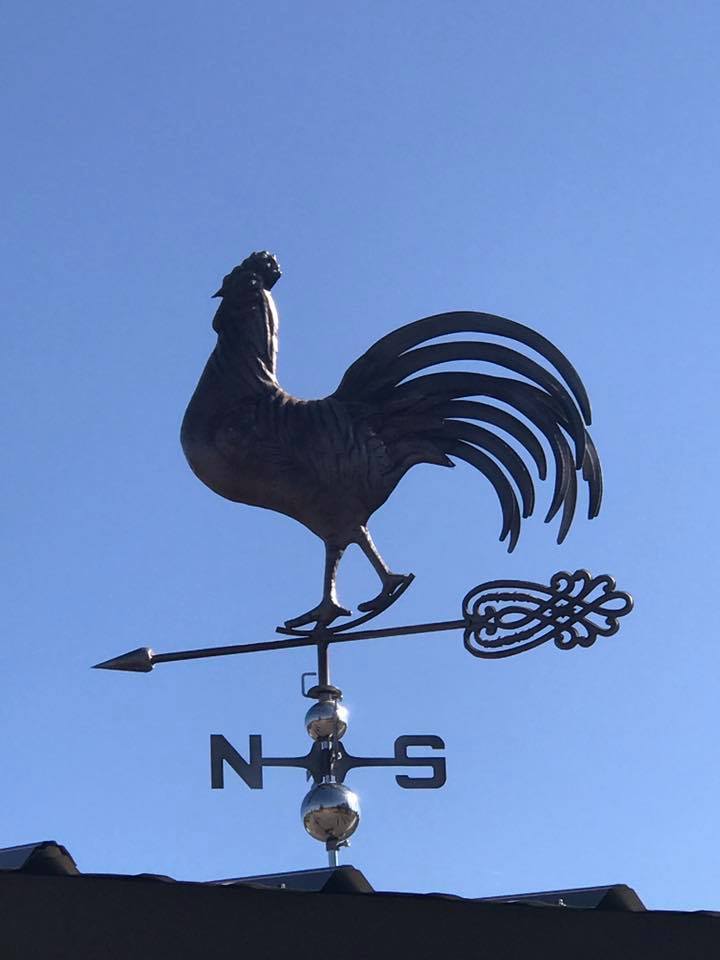
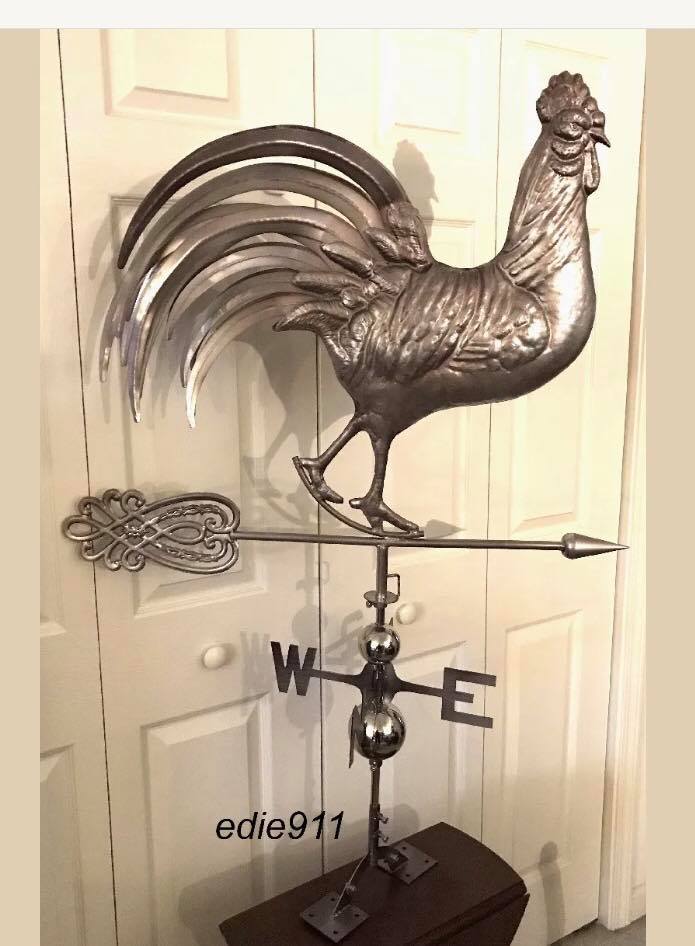
The Weathervane
We fell in love with this weathervane we found it on eBay. It fits really well on top of our coop it's a pretty large size. Will not rust and will hold up for years to come.
Inside the Coop
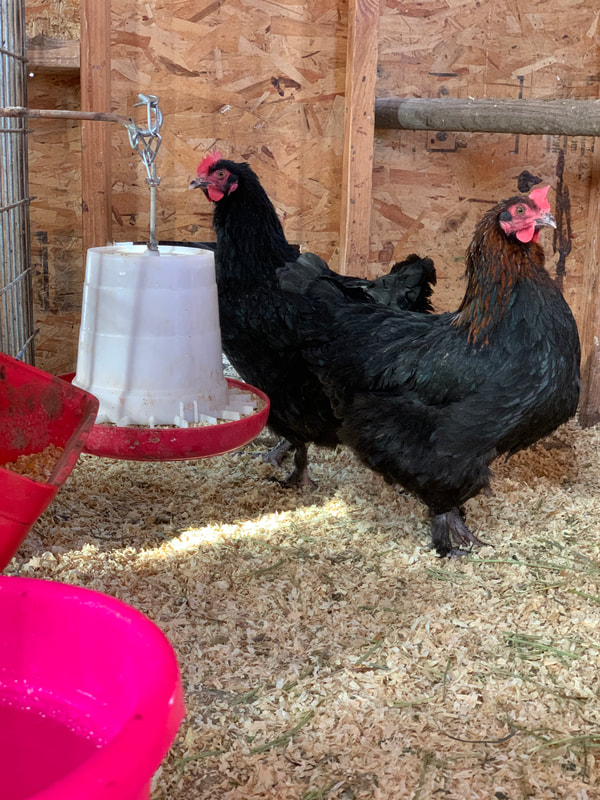
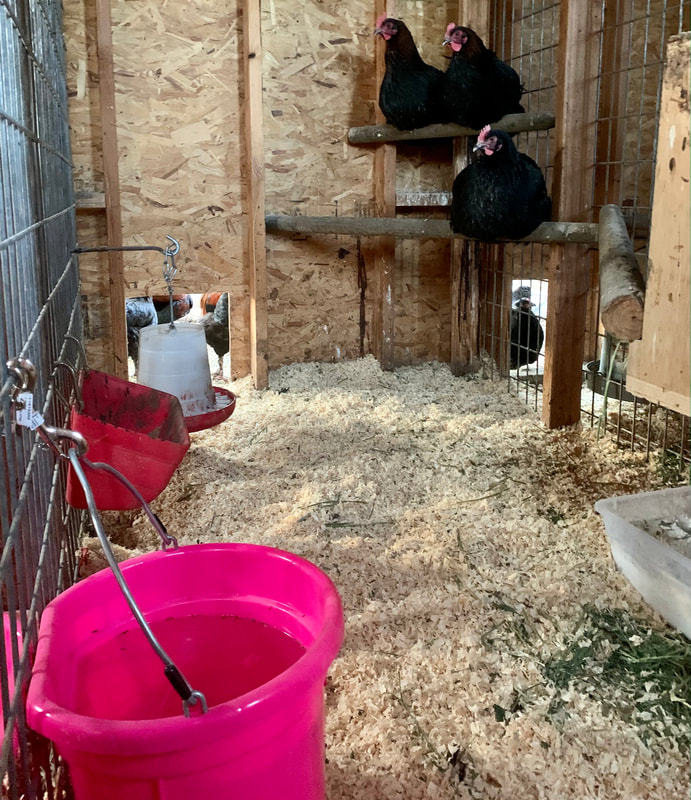
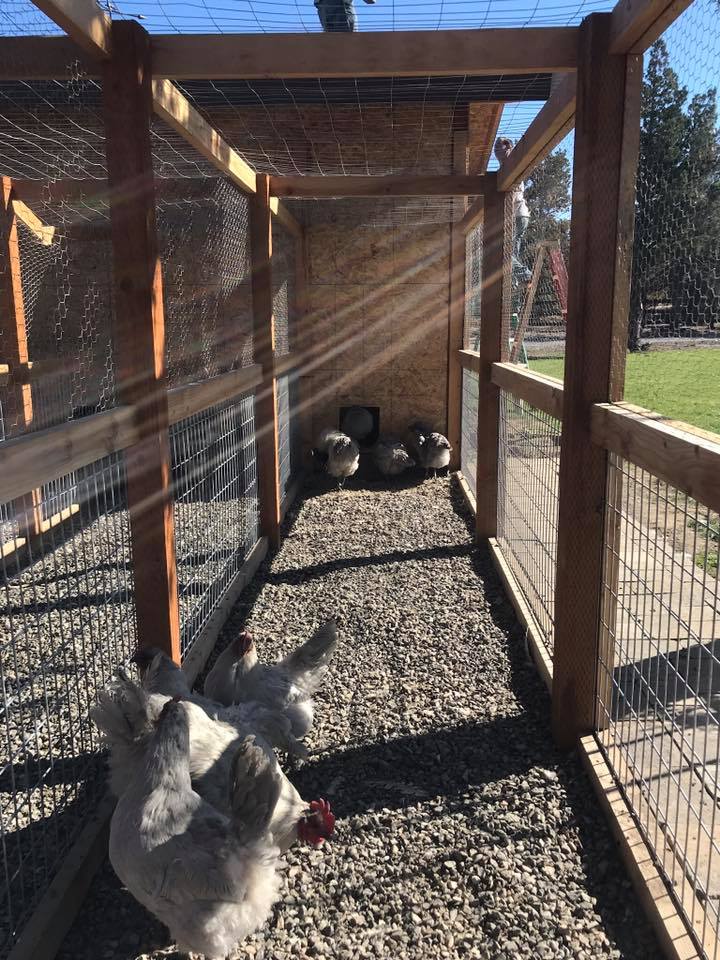
Inside the coop we have four individual pens that are 9' high, 4' 1/2" wide, 6' 1/2" long. Each pen has coop doors placed right in the center of each pen that leads to their individual runs which are 4' 1/2" wide and 24' long, 7' tall.
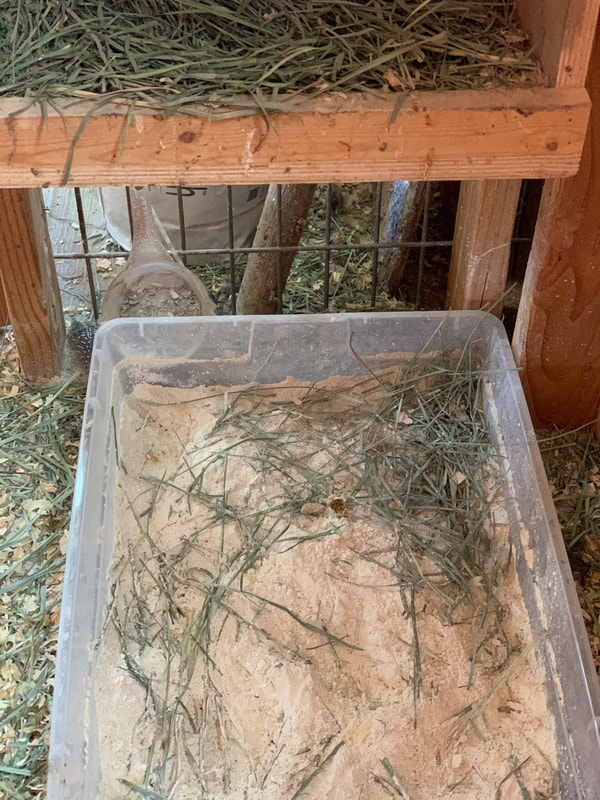
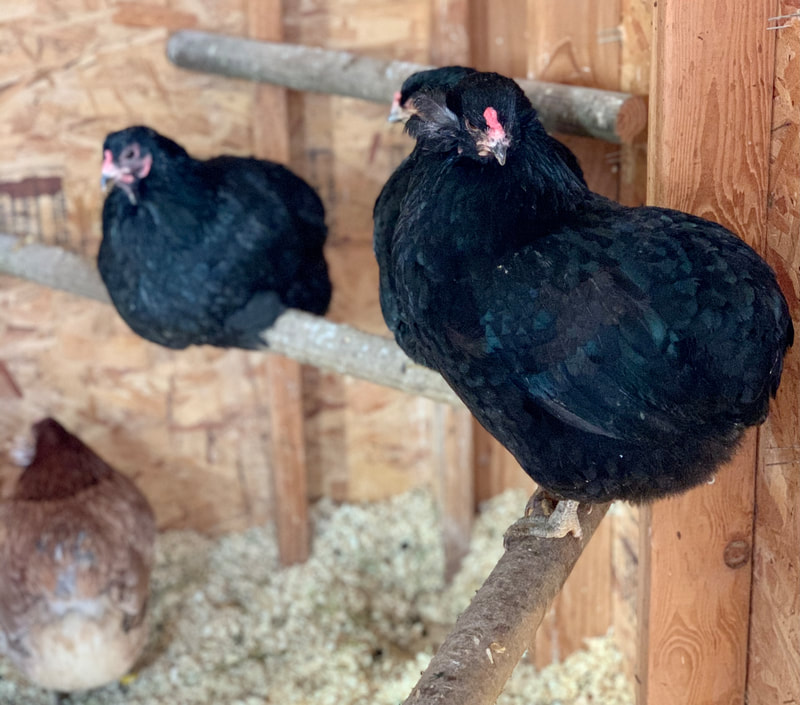
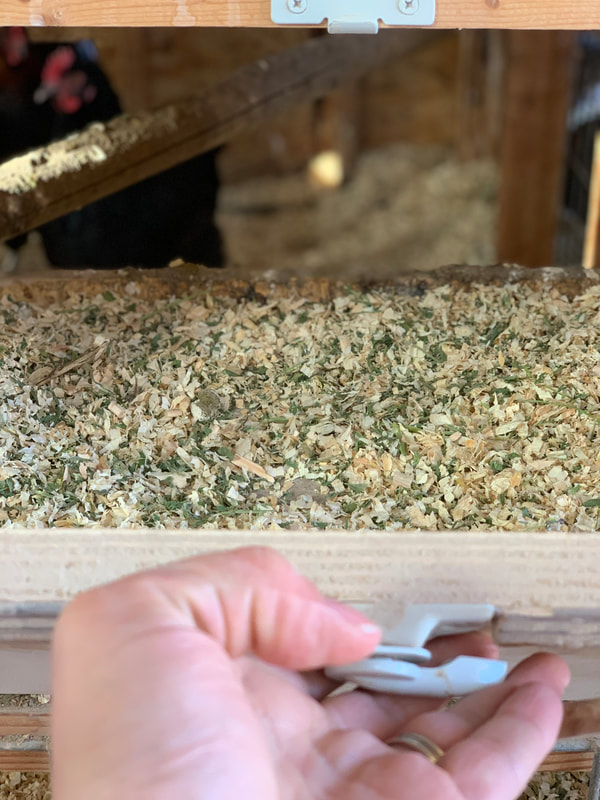
The inside pens have hanging feeders to prevent the chickens from getting the feeders full of shavings and poo. We also place 3 gallon flat back water buckets in each pen inside and out and hang with a double snap on the galvanized wire. For dusting we placed a shallow plastic container under each nesting box for the chickens to bath in. Our mixture is filled with DE, ashes from our fireplace, sand, and dirt. We also use pig feeders for hen scratch, oyster shell, worms, and flax seed. We used round dowel poles for roosting, and placed them at an angel with in the corner of each pen.
We have tried many ways of watering and feeding containers and what we use seems to work best for our coop & maybe it will work for yours too!
Nest Boxes
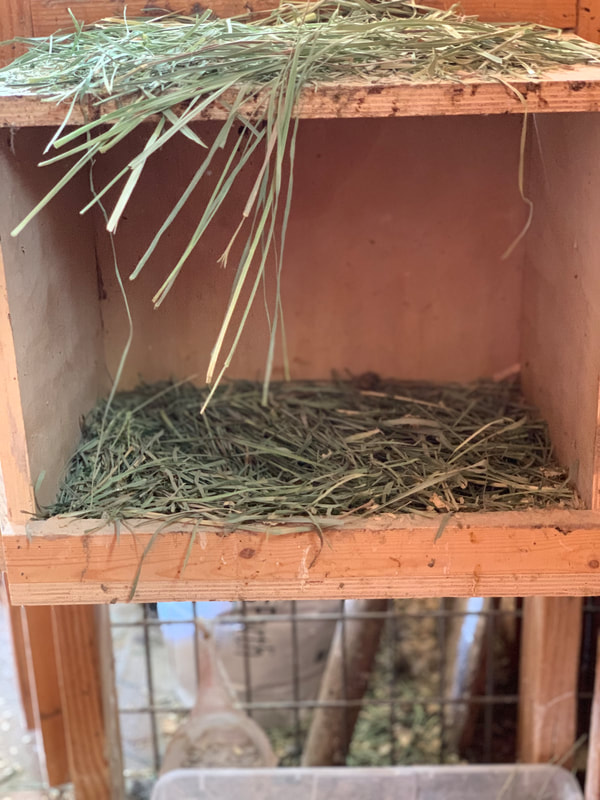
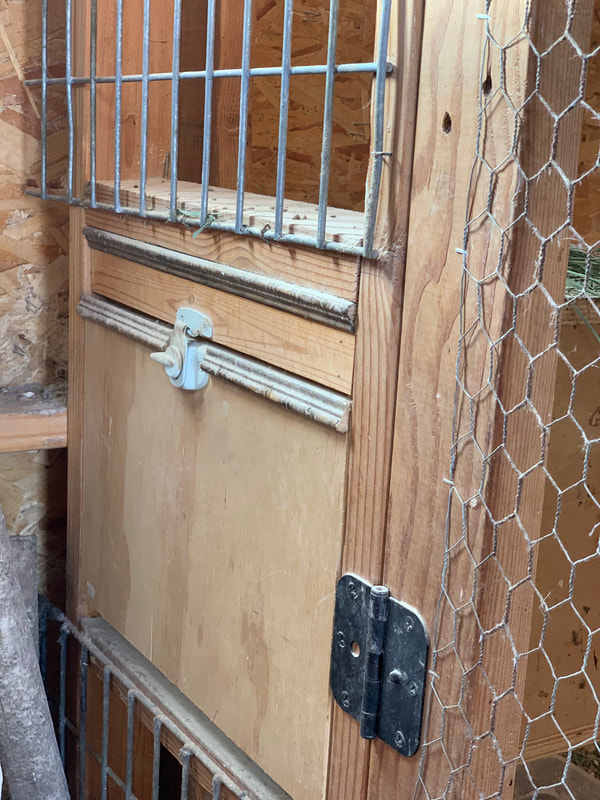
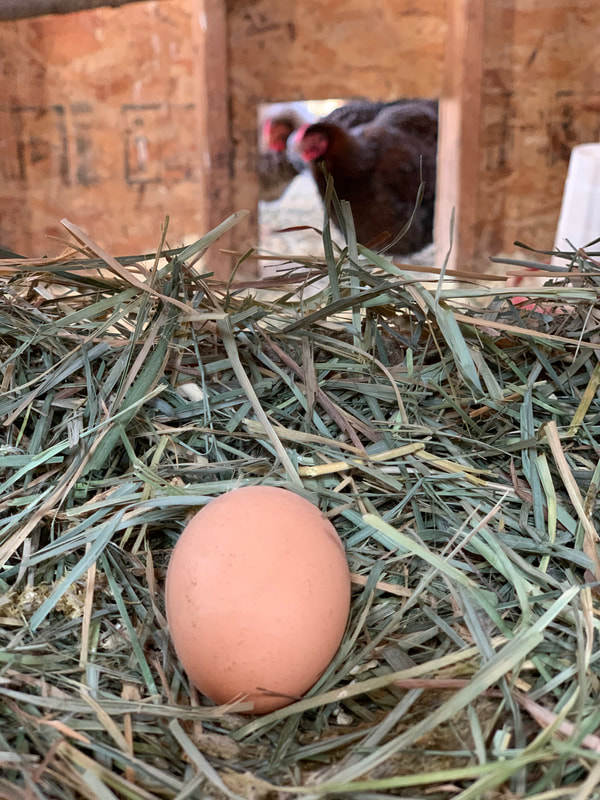
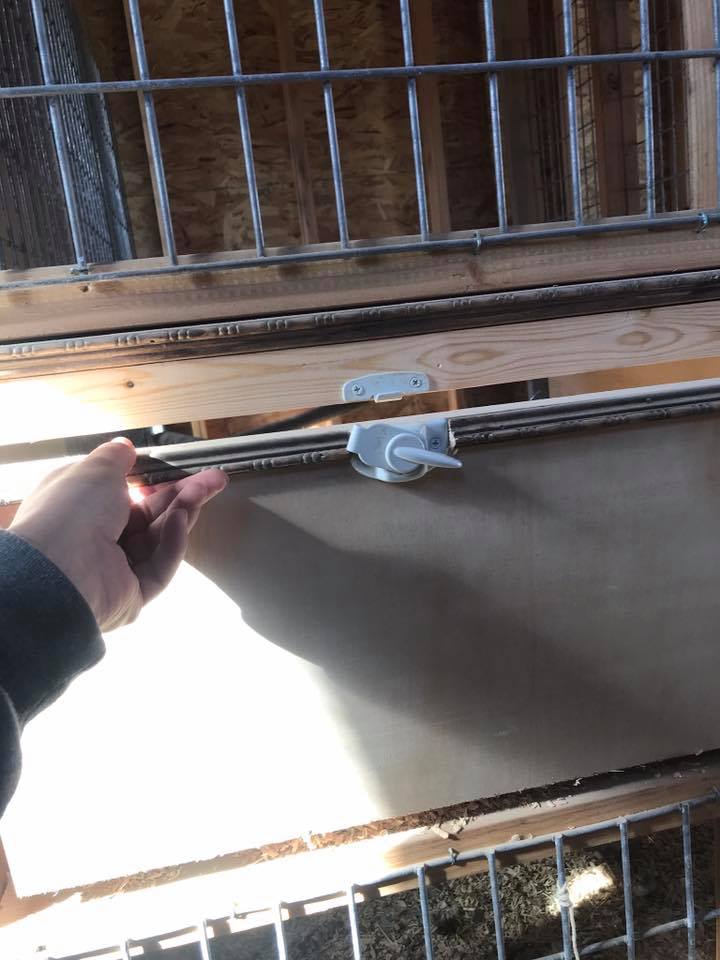
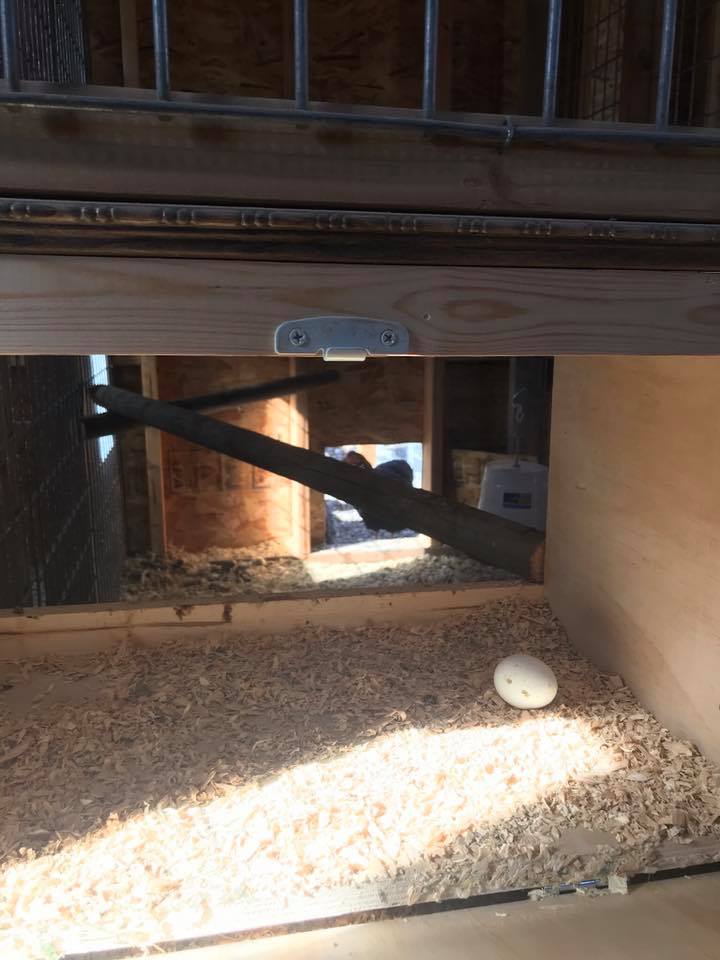
Our nest boxes are wide enough for two hens to lay at the same time. The door opens up inside the coop walk way for making gathering eggs easy. We put a decorative touch by adding some wood trim. They are super easy too build, and the hens love them!
The Coop Runs
We wanted the chickens to have space as we cant let ours free range around the property. We have too many predators like bald eagles, owls, hawks, golden eagles, coyotes and so on that will kill our flocks.
The runs have 1" chicken wire on top & on the upper half of the run sides. To make sure the runs were extra secure we added galvanized heavy gauge hog paneling to the lower half of the runs.
The doors one the end of the runs are 4' wide 6' tall, with latch pins to make sure they stay locked.
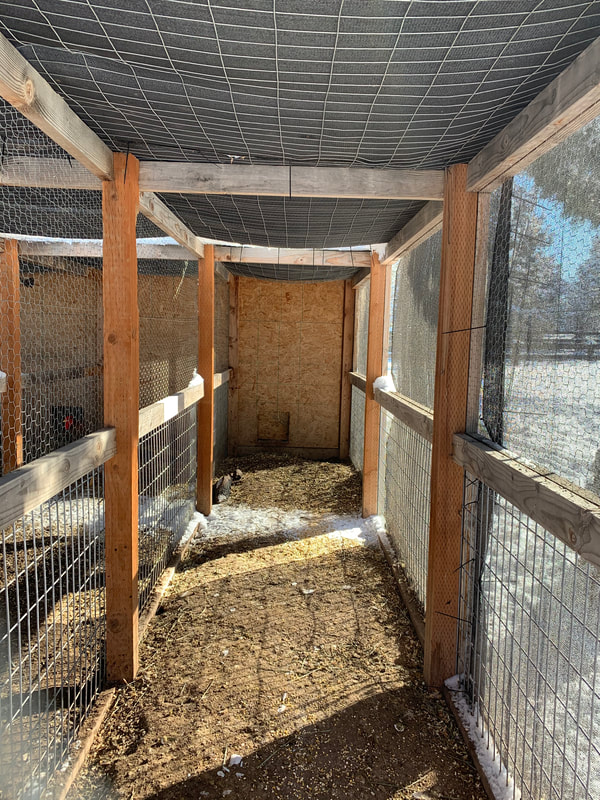
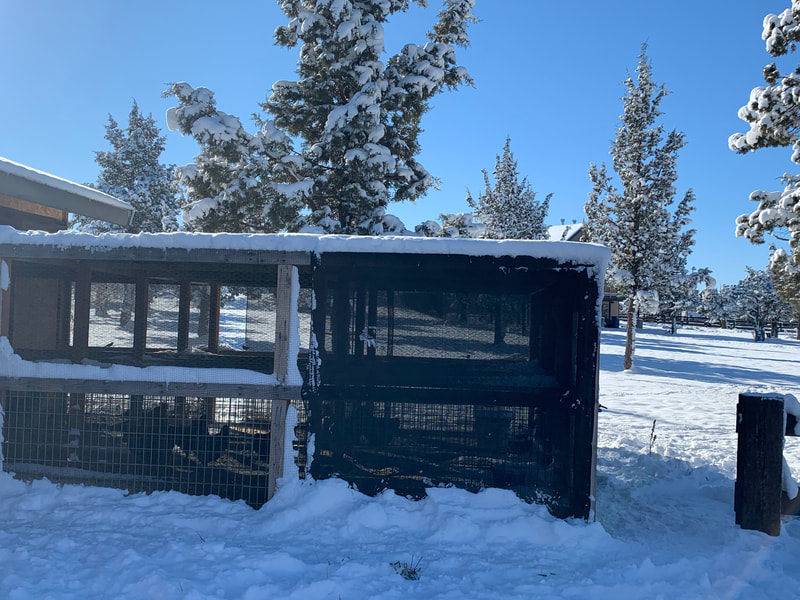
With all heat, and sun we get during the summer we had to cover the runs with shade cloth to keep the chickens cool and give them some shade. The shade cloth also helps with keeping the runs clear of snow. When the snow fall gets deep we take a roof rack and scrap the snow off the top of the runs so keep the snow load off.
Wild Birds were also causing a problem so we added bird netting underneath the shade cloth so the starlings and the wild birds couldn't get in anymore and eat all the chicken feed and bring diseases and lice into the coop.
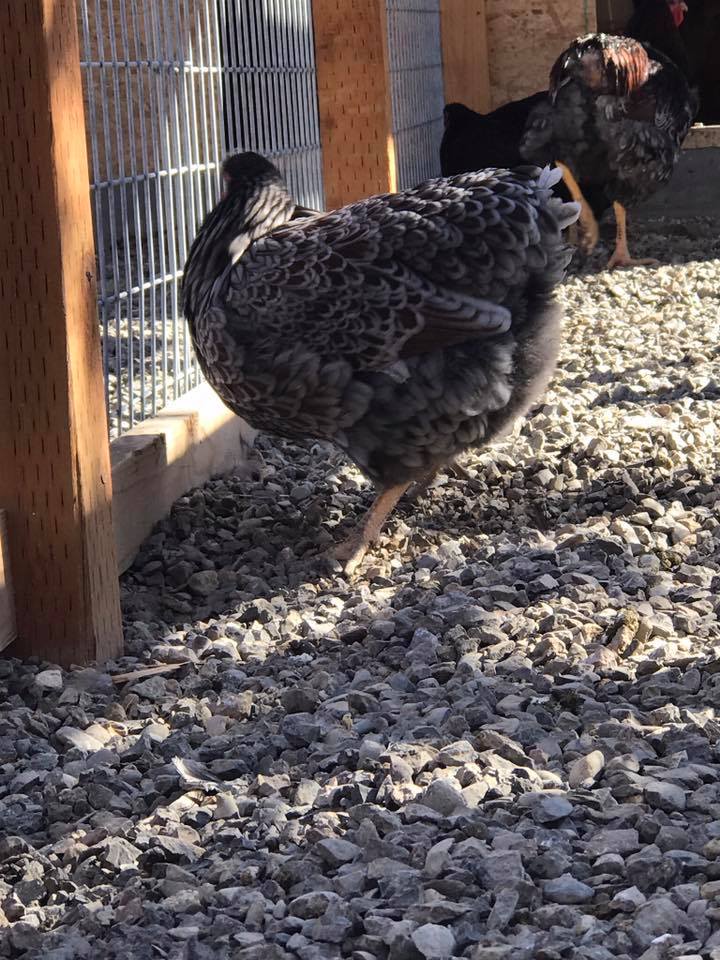
We lined the runs with 3/4 minus gravel, and we add shavings to the runs during winter and spring when its wet. We've noticed adding shavings keeps the birds clean and dry.
We have water containers set up in each run so the chickens have access to water at all times while outside in the runs & in the coop.
Walkway around the coop we set pavers. The pavers are set under the front porch and wrap around each side and the end of the runs. However we have noticed that the mice dig holes under the ground which have caused some of the pavers to collapse in. We have decided to change the pavers out top concrete sidewalk instead.
Site Designed & Managed by: Crane's Coop


